Category Archives: Multiple Chemical Sensitivity
Weekend 11 of Construction
This weekend will seem rather boring on virtual paper, as it was mostly logistic, and we have a pathetic number of pictures as the usual photographer was busy doing the work mostly alone. But fear not, that won’t stop us from boring you with the details! You want the authentic experience, right?
Drilling nice, perpendicular, centered holes in studs that are closer together than 16″ o.c. is difficult, so the installation of the plumbing was stymied by a seemingly minor detail. A right-angled drill would make the job magnitudes easier, but we couldn’t seem to locate one, oddly. Even the Craigslisters who advertised ones for sale didn’t call back. We are hoping the NEPTL will help. Tool libraries are the cat’s pyjamas, so you should see if there’s one in your area.
We did install most of the 12v wiring since those holes are smaller and if they are less straight, no one cares. And we picked up our interior paneling, some very attractive 5/16″ thick by 4″ wide tongue and groove fir. Again, it was salvage and in mostly short sections, but looked like clear, close vertical grain, suggesting old growth (without the guilt). Also, a friend of the family has offered to give us all of her pine trim from her house build that she didn’t use, for free. So supplies are coming together. Happy day!
One of us, who shall remain unnamed, was having a bit of a heart attack over the weight limit of 10,000 lbs, as we are currently sitting at a little under 7,000 less tools and extras. So, after some serious panicking, we learned the difference between linear feet (lf) and board feet (bf) when calculating lumber weights. They are not the same thing. Linear feet is what you’d first think of – the actual length of lumber, but it is difficult to calculate weight as widths and thicknesses vary. Board feet is an assumed 12″ wide by 1″ thick piece of the wood you are choosing, even if the boards you are buying are not 12″ wide by 1″ thick. So board feet is the more helpful but confusing number, as it is a volume of wood rather than a length when calculating the weight of piles of lumber. But bf was exactly what we needed when deciding on our future lumber choices for siding and paneling. Board feet is used most commonly for hardwoods (as opposed to the softwoods most often used for framing), and is calculated either as width (in inches) x length (in feet) x thickness (in inches) x 12, or as width x length x thickness (in inches) / 144. Then you can figure out the weight, for a given moisture content (wetness) of the wood, based on standard values for 1000 bf, which you can find in tables all over the internet. We realized we will be heavy, but not catastrophically so as originally miscalculated! Hence finding 5/16″ paneling, instead of using the ubiquitous 3/4″ thick pine tongue and groove. Fir is slightly heavier than pine, but when you are looking at something less than half as thick, it will be much lighter. And we did install a small wall’s worth of paneling, just to get the hang of it and feel like the weekend wasn’t a wash:

The wood will need to be sanded, but we kind of liked the “rainbow” effect. And we fluffed and filled with wool insulation as we went. Very gratifying.
Also, the weather portends rain in a few days, so we were very excited to have our Grace Ultra underlayment arrive. It was the least toxic waterproofing roof underlayment we could find, to go underneath our aluminum sheeting, so it had to be high temperature rated. Instead of being made from asphalt rubber or plain tar paper (all nasty fossil fuel based things that reek) like most, it is made from butyl rubber over a sheet of essentially Tyvek. Still fakey, but hopefully not as bad. We also ordered Reflectix, which is glorified bubble wrap with a metallic foil coating on it, to block radiant heat from the roof, as that seems to be the main source of the heat coming into the house. It has an efficiency rating of around 97%, which seems like a darn good number. So that will be installed just inside the roof sheathing, followed by wool and then paneling. Should be nice and cozy.
Last thing is the thorn in our side: the propane system. In addition to the abovementioned hole drilling problem, there are other obstacles. This one, it seems, the “Experts” have cornered the market on. As we see it, there are three main choices for running gas lines in a tiny house: black pipe, which is heavy, stiff, and a real pain to install, flexible copper pipe which requires careful installation and specific fittings to be airtight and has a much smaller diameter (at least all that we could find), and CSST (corrugated stainless steel tubing), which I have mentioned before. All brands of CSST have proprietary, non-interchangeable fittings. You can buy the first two types of gas lines at Big Box stores (the copper pipe can be found in the “icemaker” section, near the fridge stuff), and you can buy one type of CSST online from a certain Big Box store, namely AlphaFlex, which is the same thing as Homeflex. However, AlphaFlex/HomeFlex are made with PVC. There are other brands, such as ProFlex and TruFlex (I don’t know if they are affiliated with each other) which use less toxic plastic coatings, and their fittings also include a rubber gasket, which seems like a really good idea. However, all of the above types of CSST and fittings cannot be found in a brick and mortar retail store in this town. In fact, if you call any place that advertises that they stock gas line stuff, they get really huffy when you inform them that you are “doing it yourself” and tell you how you couldn’t possibly know what you need and should have an Expert determine that for you. Puckey, I say. So we ordered on Amazon. Even ordered the how-to booklet for installers who want to get “certified,” and it doesn’t look like a very long read! We’ll let you know how it works out. So far, the lesson learned is: do not be optimistic in your lengths of line. Patchwork propane lines are frowned upon, obviously. The good news on the propane front is that we have a sympathetic uncle who knows how to pressurize the system as required to check for leaks, and has all the fittings to do so! So don’t worry, we won’t be endangering anyone with our propane system, sans Experts.
This week, we hope to install the Grace Ultra in time for rain, and continue paneling and insulating as we finish installing the necessary pipes. May even wire up the switches and receptacles, so the house can be “plugged in” and have actual lights on!
Week 8 of Construction
This was a marathon weekend. Closer to a week of work, actually. We started on the 4th by cutting the 2×12’s for our couch back/bookcase/bathroom wall and installing the pocket door. Which was really cool, ’cause then we could really have a feel for the bathroom size (tiny – haha). By the way, if you decide to put your bathroom door at the end instead of the middle of the bathroom, I cannot tell you how much of a difference it made to make our bathroom 3’4″ wide instead of 3′. Seriously. Happily no one got a picture of me making the discovery by “trying out” the bathroom with a 5 gallon bucket and our wooden toilet seat, but it was suuuper tiny. Add four inches, and all of a sudden it’s pleasantly cozy. But I suppose that “inches matter” should really be the tiny-house-planning and building mantra. If you bought Tumbleweed plans, then you can grin your smug little smile and pooh to my mantra. But for those like us: your happy little pencil sketches get stretched and squeezed like you wouldn’t believe with the addition of a single 2×4, and all of a sudden it is a crisis figuring out how to allow for the window trim. That’s character and wisdom gained, right there.
But I digress. We noticed that everyone puts the toilet on one side of the door and the shower/tub on the other, using a doorway in the middle as the bathroom floor space, and then they put the kitchen under the loft next to it, so that both are claustrophobia-inducing, but very space-efficient and share the same sink. But we didn’t like the idea that efficiency is the highest good, and bathroom sinks can be really small, if you even want one. We both love Alexander’s A Pattern Language, and decided that the archaic “we have servants do all our cooking, so let’s put out kitchen in the closet” idea is stupid. So we put our space where we spend our time (in the kitchen, as for most people), and made the under-loft our “intimate” space, such as seating. We also designed our house so that the farther into it from the front door you get, the more private the space, which is also comforting and intuitive. Those two things were made possible by running the bathroom along the back, which, unlike the kitchen, makes sense to put in a closet. Plan is to make the front face of the pocket door a slightly shallower continuation of the bookcase (paperback novels, anyone?!), which also serves as the bathroom wall. We’ll put tongue and groove and/or Magnum board on the bathroom face of the bookcase, and the couch will sit in front of that, with bulk storage cabinets in the seat and the couch back, and faces out. We have some nice French doors under the loft which, later on, will be continuous with the patio and the couch area.
Next up was shaping and cutting the loft joists out of 2×6 cedar-with-character as the father-in-law puts it, which required careful planning of what to cut and which joist went where, with what face. But we all agree that the careful planning of the joists really adds flair and craftsmanship to the design. I think it makes the house look Cascadian, or Scandijapanavian, our favorite styles 🙂

The loft, facing the bookcase
We also had the brainwave that we could skip placing a joist over the middle of the shower stall, and just use a block across, since it only has to span 3′. That gave us a lot more headroom in the shower, which is great. Might be a good spot to showcase our large piece of copper sheet. Downside it that the small, efficient, low-noise exhaust fan/light that I was going to install between the joists now has no good place to go, because all of them are designed to fit in a 6″ deep wall, unless they are the cheesy RV variety. It will probably have its own box made in the upper corner near the water heater, and the exhaust will just have to take a slightly more circuitous route to escape. No spilt milk.

Middle joist in the bathroom
Then we laid the loft boards, which I am in love with. They are short cuts of close, vertical-grain fir 1×6; leftovers from someone else’s project, and perfect for our purposes. We used the nail gun for a nice clean look. And as soon as it was done, day 2 was over with. Some teenagers immediately claimed the loft, located a mattress, and camped out for the night.

Flooring the loft with the nail gun

Relaxin’ on our finished loft floor
A party with passels of cousins, munchkins, and rainbows galore followed, so Saturday was a wash. Then there was the staircase. Sigh. Complicated, as it turns out, by the fact that we wanted a staircase instead of a ladder, with a wood stove underneath. Because staircases are usually well-supported at the top by a vertical wall or a heavy-duty set of joists, neither of which we are willing to concede. So it will be suspended from the ceiling, we think. Structural finish work, as the carpenters call it, can be fiddly business. So the stairs are TBD…
The other big victory was the placement of all the 120v AC circuitry in the house, made possible by another awesome dad and several trips to the Big Box of Chemicals & Sundries. That is, all the AC stuff is “stubbed in”, which means that the boxes and the wires are run, but the receptacles (outlets) and switches are not placed yet. But comparatively, that part just takes some logic and a morning of work (or so I say haha). The location of the AC panel was something of a conundrum, mostly due to lack of knowledge – in the dim hope we can get the house certified as an RV, we weren’t sure if the AC panel had to be placed within a certain distance of the power entry to the house (for boats it is within 7 or 8′, we hear), and we also did not want an electrical panel, humming with electricity in a stupidly-designed EMF-generating electrical panel, sited under our sleeping heads. For the latter, I still don’t know, because even though we bought a centered-load panel, the breakers don’t all sit immediately adjacent to the neutral bus bar. Grr. I hate being superstitious about that kind of stuff. But alas. The former requirement, I am happy to report, we do not have to worry about, as I’ll mention below.

Siting all the electrical boxes

All the little boxes in a row, waiting for the loft…

Gnarly panel-in-progress
We found out that the guy in Oregon to talk to about RV certification of a tiny house (which can, and has been done) is named Monty Taylor, the RV inspector of the Building Codes Division, and he travels all around the state. He can inspect a tiny house, and if it meets all the codes of a “park trailer” he can certify it as a homemade RV. Why would we care, you ask, since we hate permits and bureaucratic governmental interference and infernal fees? Because a recognized RV can be insured. Otherwise insurance companies view us and our houses as a hazard to their profitability. We aren’t super set on getting the house permitted, but if what is required and what we want to do are reasonably similar, then why not?
Here’s the juicy bits Monty told me, which for some reason I haven’t seen listed anywhere before (and Monty is a nice guy, so if you want to hear it straight from the horse’s mouth, call him on his cell, the number of which he lists on his office voicemail.) This is what he said: there are no structural requirements for a tiny house. For the electrical, you need Article 552 (on Park Trailers) of the National Electric Code (NEC), which can be found in the reference sections of most public libraries, and it’s only a few pages long, so just photocopy it so you can read the legalese at your own leisure. It wasn’t bad, and most of the stuff is really intuitive, like don’t have an electrical outlet within reach of the tub. Duh. For the rest of your utilities, such as humanure, propane, and freshwater, you’ll need the ANSI A119.5 2009 handbook on Park Trailers, which can be had from http://www.rvia.org for $41, as it currently stands. I just ordered my copy, so I’ll let you know how awful it is. Incidentally, there’s another book to buy on that site that looks like almost the same thing, but it costs $250. Don’t buy that one. Anyway, here’s the rundown on the electrical, in layman’s terms, in case it helps. Just think: if you don’t have any batteries, cords or solar hooked up, what better way to learn electrical safely, and have one less Expert to pay for minor house repairs down the line, than to wire your own tiny house? If not now, when? You can always have an electrician check your work when you’re done. However, do not sue me if you survive electrocution, because you read at your own risk!
1. Learn basic electrical concepts and terms:
AC = alternating current; because it alternates it can travel long distances from a power plant to your house. This is what your house is wired with: 110-120V, AC current. 120V current KILLS you if you are electrocuted, so you need to know what you are doing.
DC = direct current; this is what batteries generate, solar generates, and what RVs and boats use, because you don’t have to do anything to the electricity from your batteries/solar/turbine to run your equipment. You can get an inverter to do the job, but they are expensive and they use energy themselves, not to mention they are not 100% efficient at changing DC to AC, so you always lose power. If you’re going hardcore solar, you’ll need a whole lot of DC and not much AC. DC systems are usually 12V, which will not (usually) kill you if you electrocute yourself, which is nice. Incidentally, those blocky things (we call them “wall warts”) that are always connected to your phone charger and laptop charger change 120V AC to 12V DC to charge the phone/laptop battery. I didn’t know that until I started reading on electrical systems. I guess I thought they were surge protectors or something. That’s why phone chargers for your car don’t have a “wall wart,” just a cigarette plug, because they’re charging off of your car battery. Cool, eh?
amperage = amps are a measure of electricity per second. Think of it as the flow rate of electricity, like the flow of water through a pipe.
voltage = volts are a measure of the potential difference of electricity. Don’t cringe! Think of it as the pressure of water in the pipe. 120V AC power wants out of there bad, so don’t let it get you!
power = measured in watts, power is equal to volts x amps. It’s how much work something can do, like horsepower. Now practice. A 60 watt light bulb, plugged into a 120V AC standard outlet, uses how many amps?
resistance = the real-world factor. Some things are harder to pass electricity through than others. A smaller gauge wire will have higher resistance to flow of electricity, for example.
Parallel circuits – built more like a tree, with two trees with “branches” feeding the hot and neutral (respectively) of all the things on the circuit.
Series circuits – like a road trip – hot wire stops at the thing it’s feeding before starting back up on the other terminal and moving on to the next thing, neutral goes from the farthest thing on the circuit back to the panel
3 way switches – these are the kind that work in tandem with another switch to turn things on or off from more than one location. They require 3 way wire to allow the switches to work with each other
Wire – the gauge used is determined by the amperage of the circuit. The smaller the number, the larger the wire, which is not intuitive! The second number denotes how many wires there are, excluding ground (which is not counted). So your standard 15 amp circuit takes 14-2 wire, with 14-3 wire between 3-way switches.
2. Figure out what kinds of things you want to run in your house. Really. It’s a pain, it’s thankless, and it’s really intimidating for those learning electrical, but you really need to do it. It will help you learn, if nothing else. Get a Kill-O-Watt meter (available at the Big Box stores), and start measuring the usage of everything you will use, such as your laptop/computer, cell phone, toaster/toaster oven, microwave, fridge, blow-dryer, electric range/oven, and lights. Do it for days or weeks, not just a few hours while being eco-friendly is foremost on your brain. Keep in mind that things with digital screens on them draw “phantom loads” since they are essentially always on, even when not in use. And anything that heats things, like water heaters, ovens, rice cookers, toasters, microwaves, blow-dryers and clothes dryers, use HUGE amounts of electricity. That’s why people often forgo them or use propane or other fuel sources in a tiny house.
3. You will need to know how much energy you’re really going to use to be comfortable, because if nothing else, you need to know the size of your power cord. An extension cord only carries so much juice before you create a fire hazard or trip the breaker on your host house’s panel. Your three main choices, from what I can tell are: extension cord (look at the rating on the cord), 30 amp RV (3 prong) and 50 amp RV (4 prong)
4. Okay, if you’re still reading, this is what you do next: figure out what actual AC fixtures you want – lights, fans, fan lights, etc. so you know they’ll all fit (inches matter!) and not be overkill. Figure out where you want them. Do you want an outlet in your closet to charge your DirtDevil? How about Christmas lights? Patio lights? (The NEC Article 552 requires at least 1 outdoor outlet). Where do you want to charge your smartphone (hopefully not right near your head, the RF waves are not good) and your laptop? Alarm clock? A nightlight? A box fan for the two weeks in August in the Willamette Valley when you are sweating like a pig wishing for air conditioning? Done? Good!
5. Mark out where you want said lights, switches, outlets (receptacles) and fans. Write on the wall. Where do you want your power to come in? The Park Trailer code says standard is left rear, but I don’t know how they define that for a tiny house. Where do you want your panel so it is easy to distribute all the power coming in to your circuits, and easy to get to? Place your light boxes, switch and receptacle boxes accordingly, securing them in place with sturdy screws.
6. Divvy up your circuits. The Park Trailer article has a category of “2-5 circuits” which I think looked easiest to aim for. Many tiny houses have only 3 circuits. Most full-sized houses have 2 20 amp circuits for the kitchen, with dedicated circuits for ovens, microwaves, fridges, garbage disposals, etc.
What we did in ours:
– 4 circuits (overkill), 2, 15 amp and 2, 20 amp circuits, the bathroom/bedroom and main room lights were on a 15 amp, the living room, stairs and teeny fridge on a 15 amp, an outdoor receptacle and indoor one designed for an oil-heater (huge hog) on a 20 amp, and the kitchen on a 20 amp
– All single-pole switches except for two lights – the nightlight upstairs, and the fan light
– Metal-sheathed conduit from the main power feed to the panel
– A “kill switch” in the bedroom that cuts power to the whole bedroom and bathroom for sleeping at night. We will use an illuminated switch so we know when it is on. We have an outlet on top of our fridge for charging cell phones, far from our bed. Our concession to EMF and RF concerns.
– We designed our bookcase to have a compartment for storing our laptops and charging them, out of sight
– We will be installing only a few 12V circuits in the house – one for the fridge in case we ever get a fancy solar fridge, one for an outlet in the bookcase, the exhaust fan/hood in the kitchen (from an RV) and the water pump (from an RV). The DC panel has breakers instead of fuses (the fused type are the cheapest to get), and will go in the battery cabinet on the tongue. We haven’t wired it yet, but we will!

Quasi-finished electrical
Weekend 6 of Construction
This weekend doesn’t look like much progress in pictures, but it was a lot of preparation and the hard stuff; we worked on the bathroom bay window/utility closet, and started on the Dutch door retrofitting. Eventually we will cut a round top in the door, and lap end pieces to the cut edges of the Dutch door to make it strong and air/water tight. Sounds really simple but we had a huge debate about how best to do that. All agreed that it will be gorgeous when it is done; in fact it is such a pretty door it was fairly intimidating to make that first cut. The door is solid teak, after all – you’d have to try really hard not to have it look beautiful. Another awesome Craigslist find.
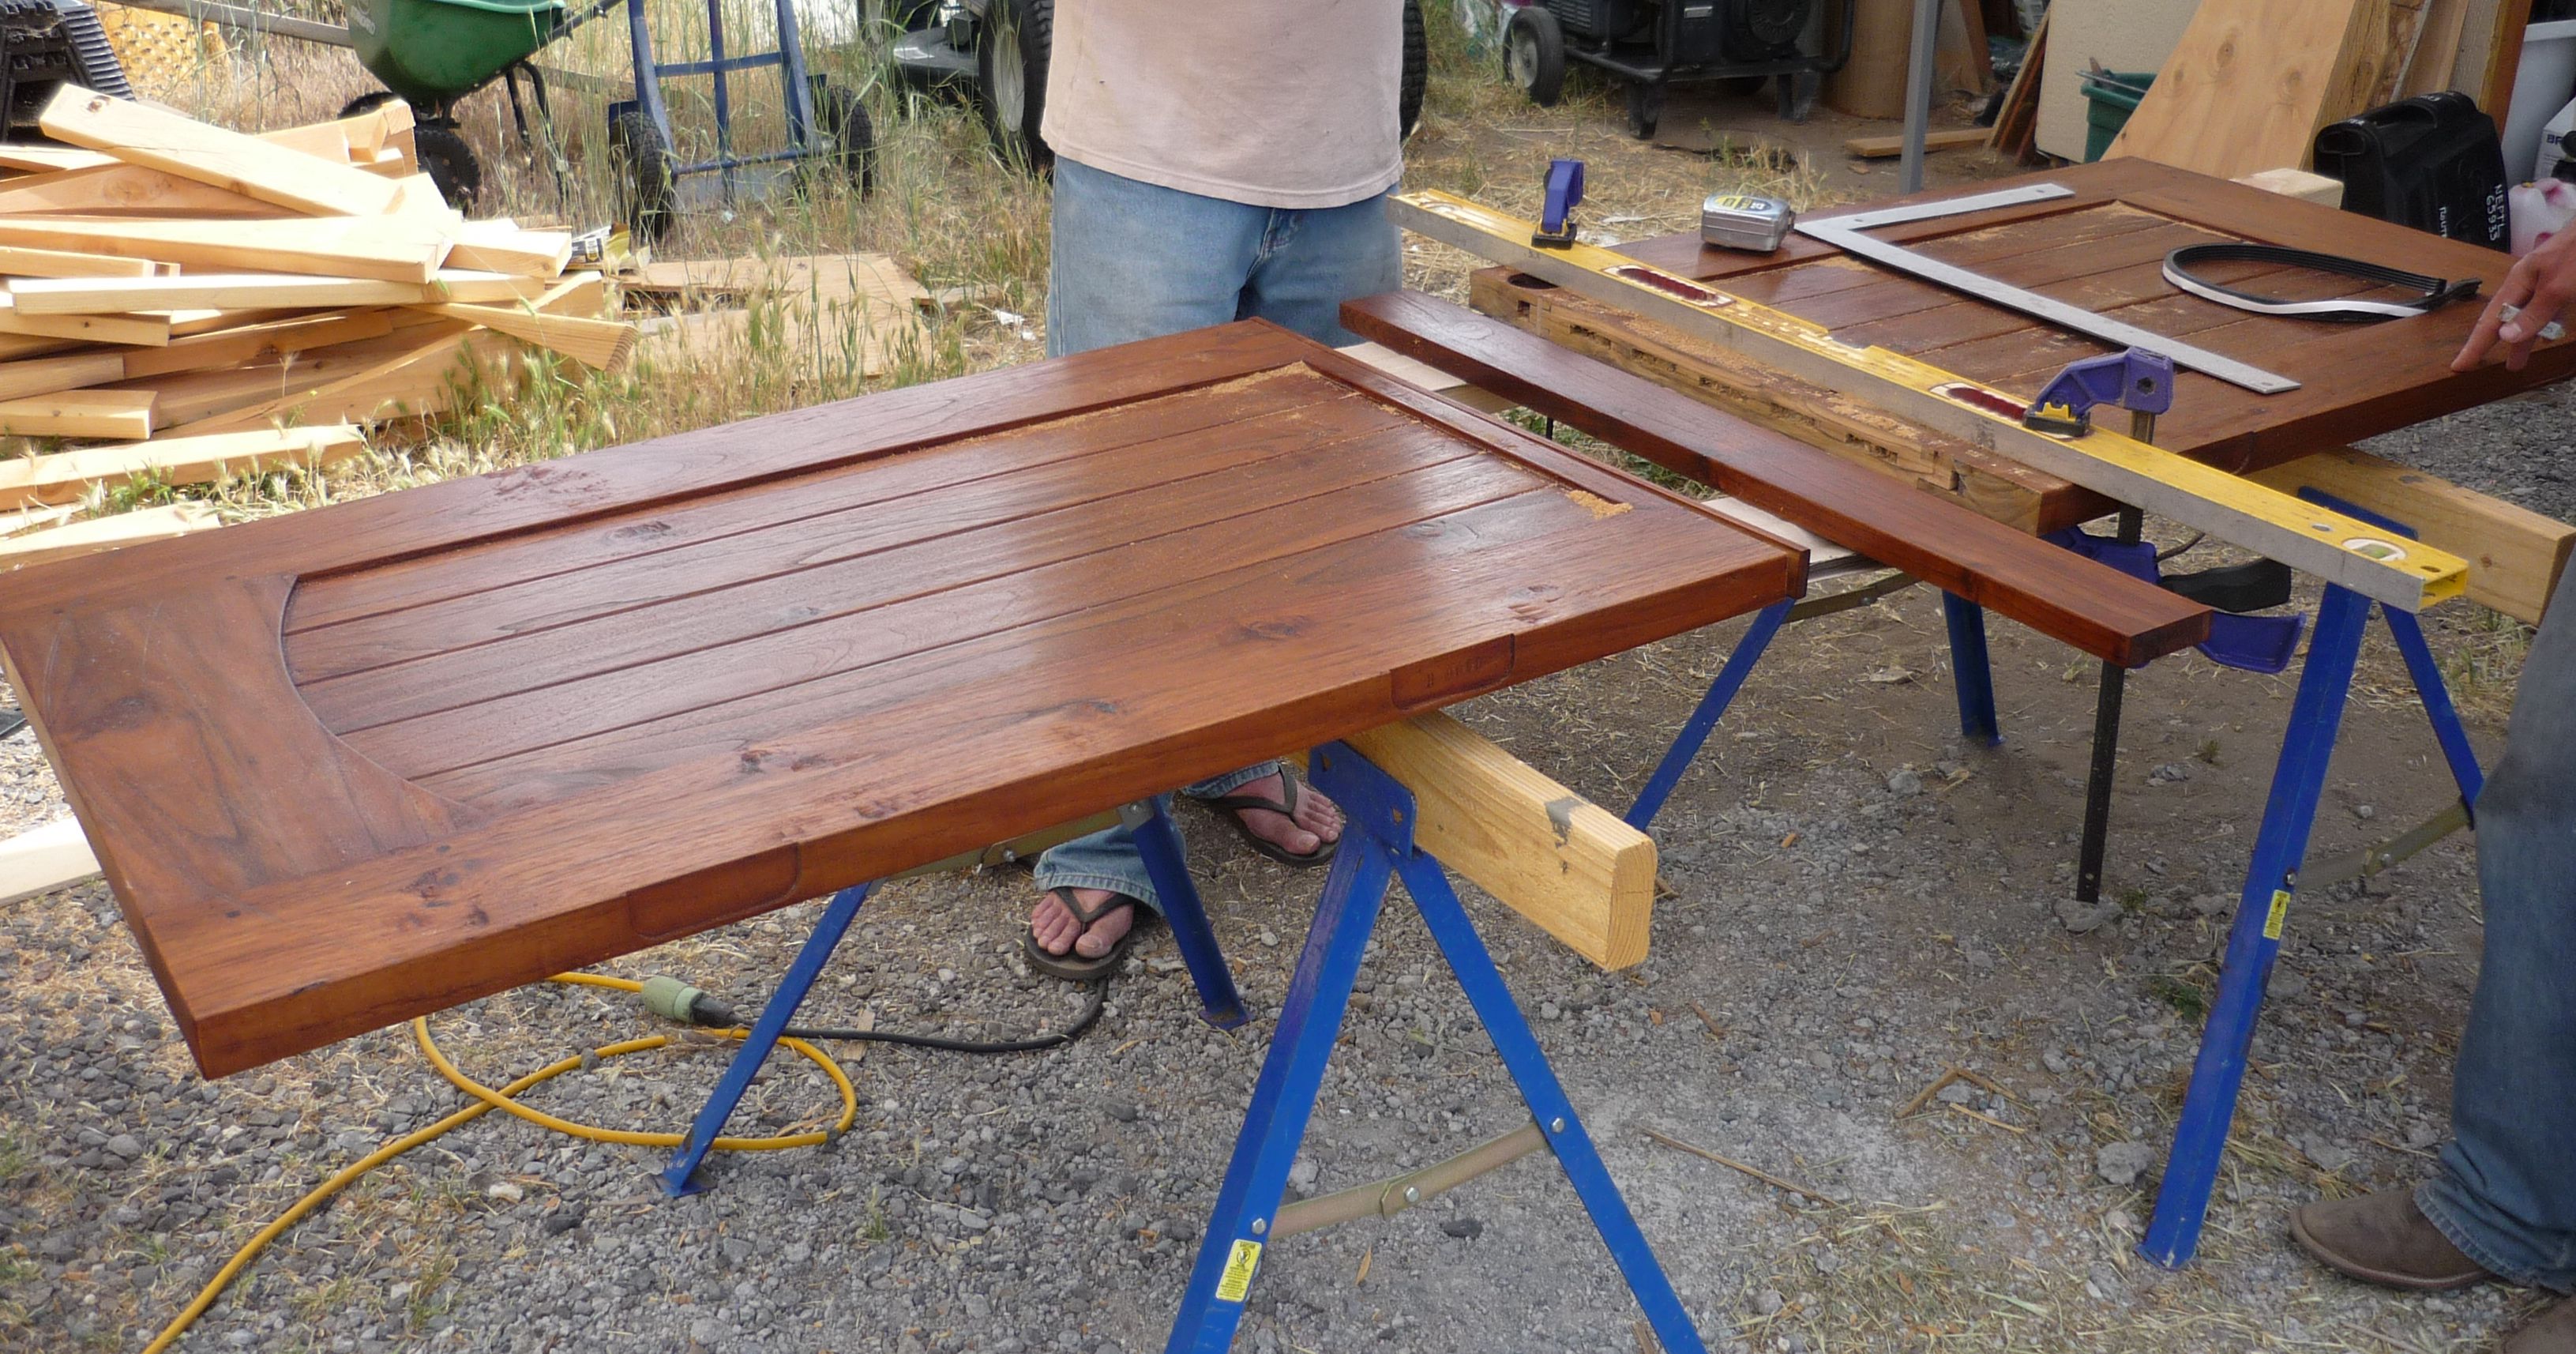
The cutting of the door in half…eek!
Some of us worked on plumbing/electrical logistics to stay out of the way. To our horror, our RV water inlet had this little sticker on the back (and we even went out of our way to hunt down a mostly metal water inlet instead of a plastic one! It’s a conspiracy…)


We also put together the rafters and raised them, temporarily screwing them down, mostly so we could feel good about our progress on something; next week we will put in blocking and attach hurricane clips (H 2.5’s) to make it really sturdy, and finally sheet the roof and put up fascia board. We decided to make our walls narrower so we could actually have eaves and rain gutters since it rains a heck of a lot more where we are than in Jay Shafer’s part of the world.

It was really good timing on hindsight, as we saw dark clouds coming and decided to tack down the black plastic over the roof in case it rained a little. It usually doesn’t rain a lot, but we didn’t have a good way of covering the floor any more since we had put up criss-crossed supports for squaring and stabilizing the walls in preparation for the roof. We had just gone inside when it POURED for about 20 minutes! We checked afterwards and there was some pooling of water but only where the North-facing windows were, so we tacked up coverings for the windows, too. The doorways will have to stay open until next week. Hopefully it doesn’t rain that hard again for at least a week!


All buttoned up for the week.
In other news, we picked up some sheets of Magnum Board from a very nice fellow named Jim of EcoAbode, LLC in Tacoma who specializes in green building materials. Evidently he is familiar with Multiple Chemical Sensitivity, and he was very sympathetic to our cause. He’s the closest supplier of magnesium oxide board to Oregon (the next closest is in Northern California), so I will put his info on the Materials List page for those interested.
Also, I talked to a lady in Portland at a place called Brush & Trowel who is a great resource for questions on non-toxic plaster finishes. We are thinking of doing tadelakt for our shower stall instead of the usual galvanized steel or aluminum sheet, and she recommended a system called EcoStucco, which carries a very fine plaster suitable for for it, and the elusive “Savon Noire” recommended for burnishing and waterproofing. Normally I shy away from patented “systems” but in this case, I don’t want to deal with a DIY lime plaster debacle, especially for such small square footage and a short time frame. She said she had tadelakt installed for her shower and loves it, and didn’t see why we couldn’t use it, so long as we keep the whole thing really rigid to prevent cracking. The demo tile she showed us used a stiff cement board backing, followed by what appears to be an entirely superfluous layer of nasty paint, and topped with at most 1/16″ of plaster. Since the Magnum Board is really stiff, I think it would work great if it has solid framing behind it. The Magnum Board is 60 lbs per 4′ x 8′ x 3/8″ (9 mm) sheet, so the plaster won’t add much more weight, and we wouldn’t even use a full sheet. If we like it, we were thinking of doing the floor in Magnum Board with plaster as well, since our house will be a shoe-free area anyway, and the dog hates bathrooms (they are scary places, with BATHs and the site of a very mysterious but offensive habit of pooping in the same place, inside your house – very unhygienic) so no worry of dog nails. And there is certainly no worry of high heels in this household! We have not seen any tiny housers do anything similar, so hopefully there isn’t a very good reason not to – if anyone knows why we shouldn’t, do let us know!
Weekend 1: Subfloor Underlayment and Sealing
So we hauled the trailer over the mountains with much trepidation, and arrived without a problem. The trailer actually tows very well. Everyone who sees her says she’s beautiful! Here was the view welcoming us:
 First step, laying the subfloor. Since we have fancy extendo-crossmembers we actually have to frame in 5 boxes, two on either side of the fenders plus the main area. Which brings us to the first conundrum: what type of underlayment do we want? It needs to be strong enough to handle the errant stick, keep out moisture, rodents, and other would-be residents, and protect the floor insulation.
Tumbleweed recommends aluminum flashing nailed to pressure treated lumber stringers laid on their flat side, framing, followed by extruded polystyrene foam with expanding foam insulation to fill in the cracks. Nasty chemicals, the whole lot, and would definitely off-gas! And we discovered that to use aluminum flashing would cost $200. Ouch.
PAD recommends marine grade coated waterproof 1/4″ plywood, followed by wool insulation (treated with only borax). We really like the wool idea (especially since it is grown in Oregon, and sold in Ranier!), but coated marine grade plywood is, again, nasty stuff. In general, adhesives and sealants are the hidden bugaboos for MCS-ers trying to build a house, and marine-grade plywood fails on both counts, although it is thin, lightweight, and waterproof. Traditional construction adhesives all typically use solvents that off-gas, at minimum, a lot of formaldehyde. Now, the pig-headed construction orthodoxy will argue that natural wood off-gasses formaldehyde too, and technically they are correct, so if you see a wood product that says “No VOCs”, they are lying. However, the RATE and AMOUNT is so tiny as to be almost unmeasurable, so as close to natural wood as possible is the way to go.
So about plywood. Interior grade plywood often uses urea-formaldehyde adhesive, which is the worst of the adhesives; ironically the very stuff you would have closest to you, breathing in the goodness. No surprise, as once again, most construction adhesives are derived from fossil fuels. Exterior grade plywood typically uses phenol-formaldehyde, which still off-gasses, but at a much lower rate. You can find interior plywood at greater cost that is urea-formaldehyde-free (meaning they use phenol-formaldehyde), but you cannot find a lo-VOC exterior grade plywood. At least we couldn’t. OSB (oriented strand board) is, along with particleboard, the nastiest of all the plywoods, heaviest, and turns to oatmeal when wet, so no OSB anywhere in our house. It’s only benefit in construction is that it is a little cheaper.
So we went for the least of evils:
Galvanized steel flashing, which cost half as much as the aluminum, a 3/8″ thick sheet of CDX (a type of exterior grade) plywood on top of that, followed by our stringers of 2×6″ pine. To seal the cracks in the flashing, we used a type of adhesive flashing tape… joy! Back to the computer, looked it up, and there are two large groups of flashing tapes, those made with asphalt and those made with butyl rubber. Apparently the latter is not good, but not terrible as it does not off-gas any VOCs unlike asphalt tape. Here’s the article for your interest: http://www.bestmaterials.com/PDF_Files/flashing-tapes-manual.pdf

Main compartment flashed and taped
And for your information, metal flashing is a pain in the butt to get tight enough if you are just screwing it straight into your cross-members, which is probably why Jay used the stringers as he did. We found out the hard way that it leaves lots of gaps around the edges, and a lot of gaps in the middle if it is not perfectly tight, which is fine if you’re using polystyrene board, which no creature is terribly interested in. So we added the 3/8″ plywood the weekend after, as we thought it would be better able to protect the wool insulation, and likely why PAD used a solid wood underlayment. Next week: finish the subfloor!
